

Table of Contents
- Step 1: Start With Fresh Coffee Beans for Brewing the Perfect Cup
- Step 2: Get Your Coffee-to-Water Ratio Right
- Step 3: Match Coffee Grind Size to Your Brewing Method
- Step 4: Use Fresh, Filtered Water at the Right Temperature
- Step 5: Prepare Your Filter and Equipment
- Step 6: How Long to Brew Coffee (and Why It Matters)
- Step 7: Pour Slowly and Evenly for Full Extraction
- Step 8: Taste, Adjust, and Serve Your Perfect Cup
- Frequently Asked Questions
Last Updated: October 14, 2026
Step 1: Start With Fresh Coffee Beans for Brewing the Perfect Cup
Freshness is the single biggest variable in the 8 steps to brewing the perfect cup, and it starts before the water ever hits the grounds. Coffee beans begin losing aroma the moment they leave the roaster, so the calendar matters more than the label.
At Smokin Java, we roast each batch the day it ships, which means the bag that lands on your counter is closer to the roaster than anything sitting on a grocery shelf for months. That gap is the difference between a cup that smells like cocoa and one that tastes like cardboard.
Whole beans stay fresh longer than pre-ground coffee because the oils and aromatics stay locked inside the bean until you break it open. Buy whole beans when you can, and grind right before brewing.
A common mistake is buying a large bag to save a trip. Buy smaller amounts more often. You will taste the difference within a week.
Step 2: Get Your Coffee-to-Water Ratio Right
The coffee-to-water ratio is the measurement that decides whether your cup tastes balanced or muddy, and most home brewers simply guess. A reliable starting point is 1 gram of coffee to 16 grams of water, which lands in the range most coffee professionals use for drip and pour-over.
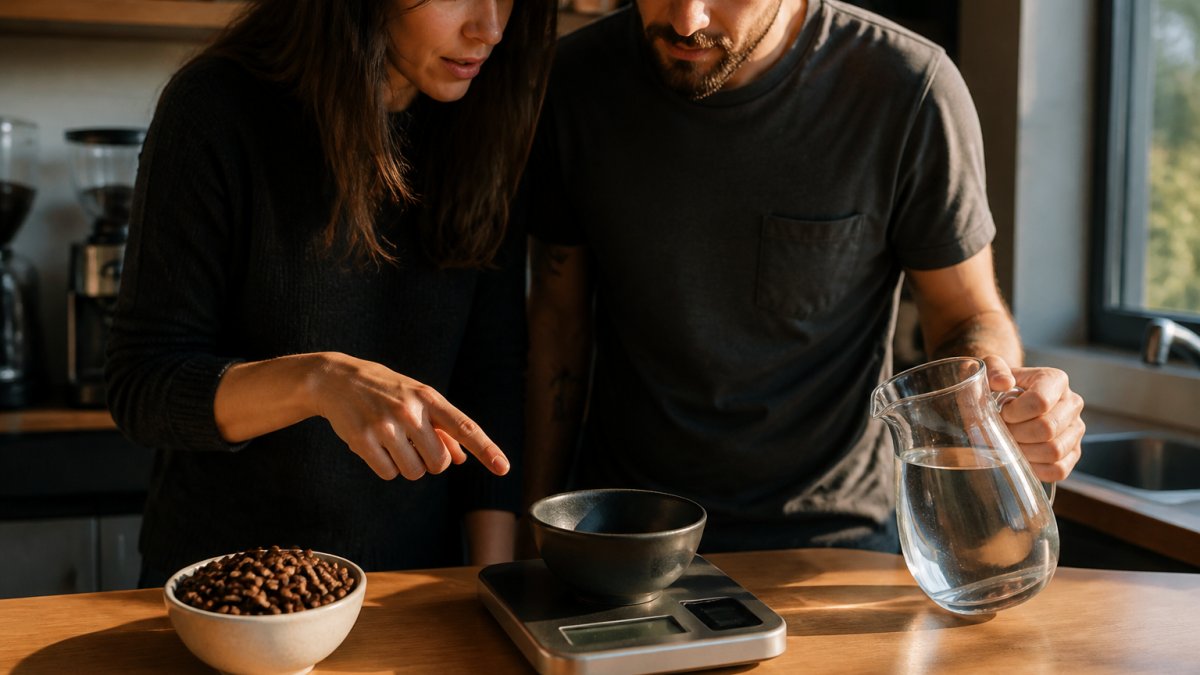
If you prefer volume, that works out to roughly 2 tablespoons of ground coffee per 6 ounces of water. Grams are more accurate because a scoop of fine grind weighs more than a scoop of coarse grind.
Here is a quick reference for common batch sizes:
| Cups Wanted | Ground Coffee | Water |
|---|---|---|
| 1 cup (6 oz) | 2 tbsp / 10 g | 6 oz |
| 2 cups (12 oz) | 4 tbsp / 20 g | 12 oz |
| 4 cups (24 oz) | 8 tbsp / 40 g | 24 oz |
| 6 cups (36 oz) | 12 tbsp / 60 g | 36 oz |
Want a stronger cup? Add coffee, not time. Extending the brew pulls out bitter compounds rather than more flavor.
Step 3: Match Coffee Grind Size to Your Brewing Method
Coffee grind size for brewing methods is not a preference, it is a requirement. The wrong grind either chokes the water flow or lets it rush through before flavor develops.
Use this guide:
- Coarse grind: French press and cold brew, roughly the texture of sea salt
- Medium grind: drip coffee makers and flat-bottom pour-over, like table salt
- Fine grind: cone pour-over and AeroPress, closer to table sugar
- Extra fine: espresso, powdery like flour
A burr grinder gives you consistent particles, which is why we recommend the Electric Coffee Grinder from our own lineup. Its 150-watt motor grinds up to 2 ounces of beans in about 20 seconds, and the stainless steel bowl handles spices and nuts too.

Step 4: Use Fresh, Filtered Water at the Right Temperature
Filtered water matters because coffee is roughly 98 percent water, and off-flavors in your tap show up directly in the cup. Chlorine, mineral scale, and old pipes all leave a signature.
Water temperature should sit between 195°F and 205°F, which is just below boiling. Water that is too hot scorches the grounds and turns the cup harsh. Water that is too cool under-extracts and leaves the coffee sour and thin.
If you do not own a thermometer, boil the kettle and let it rest for about 30 seconds before pouring. That short pause drops the temperature into the right window without any guesswork.
The Specialty Coffee Association publishes brewing standards that back this temperature range, and it is worth reading if you want the full technical picture.
Step 5: Prepare Your Filter and Equipment
Preparing your filter and equipment takes about a minute and prevents a papery taste from ruining an otherwise good brew. But the exact steps change depending on your brewing method. Here is how to prep for the three most common setups, plus what to do if you lack specialized gear.
Pour-over (cone or flat-bottom): Rinse the paper filter with hot water. That rinse does two things: it washes away loose paper fibers and it preheats the carafe or mug so the coffee does not cool the moment it lands. Set your scale to zero with the empty brewer and rinsed filter on top.
Drip coffee maker: Remove the basket and give it a quick rinse to eliminate old grounds. If your machine has a reusable mesh filter, rinse it thoroughly; if it uses paper, pre-rinse the paper in the basket. Fill the reservoir with fresh filtered water.
French press: Rinse the beaker and plunger with hot water to preheat. Check that the mesh filter is clean and free of trapped grounds. Set the plunger aside. For a standard 8-cup press, start with 4 tablespoons (about 30 grams) of coarse grounds. No scale? A heaping tablespoon per 4 ounces of water works.
Equipment-free alternatives: If you have no scale, grinder, or specialized brewer, you can still make a decent cup. Use a clean sock or nut milk bag as a filter, or brew cowboy-style by boiling water, adding coarse grounds, letting them settle, and pouring off the liquid.
Then check your gear:
- Rinse the water reservoir and fill it with fresh filtered water
- Wipe out the grinder bowl so old grounds do not sneak in
- Warm your mug or carafe with a splash of hot water
- Set your scale to zero with the empty brewer on top (or use the scoop-and-cup method)
If you are making a milk drink instead of black coffee, the Coffee Latte Milk Frothing Jug gives you a stainless steel pitcher with a non-stick interior and a full one-year warranty.
Step 6: How Long to Brew Coffee (and Why It Matters)
How long to brew coffee depends on your method, but the sweet spot for most drip and pour-over setups is about four minutes of total contact time. Under four minutes and the coffee tastes weak and sour. Past five or six minutes and bitterness takes over.
French press runs longer, usually four to five minutes before you plunge. Espresso is measured in seconds, not minutes, typically 25 to 30 seconds for a double shot.
Why does time matter so much? Extraction is a race between the compounds you want and the ones you do not. Acids and sugars dissolve first, then the bitter tannins follow. Stop the brew at the right moment and you get the good stuff without the rest.
If your coffee tastes sour and thin, it is under-extracted. Grind finer, raise the water temperature slightly, or add a little time. If it tastes bitter and drying, it is over-extracted. Do the opposite.
Step 7: Pour Slowly and Evenly for Full Extraction
A slow, steady pour in circles is what separates a flat cup from a full one. Dump the water in all at once and you get channeling, where water punches a single path through the grounds and leaves the rest untouched.
Start with a bloom. Pour just enough water to wet the grounds, roughly twice the weight of the coffee, then wait 30 to 45 seconds. The bed will puff up and release gas. That is degassing, and skipping it costs you flavor.
Then pour in slow circles from the center outward, keeping the water level steady. Aim for a pace that finishes the pour in two to three minutes, leaving the total brew time near four minutes.
Step 8: Taste, Adjust, and Serve Your Perfect Cup
Tasting is the step most people skip, and it is the one that turns a good recipe into your recipe. Sip before you add anything. Black coffee tells you exactly what the brew did. Use this troubleshooting guide to diagnose and fix common problems.
Under-extracted coffee tastes sour, thin, and weak. It happens when water does not pull enough flavor from the grounds. Fix it by grinding finer (which slows water flow), raising water temperature by 5°F (within the 195°F-205°F range), increasing brew time by 30 seconds, or adding more coffee (try 1 gram more per 16 grams of water).
Over-extracted coffee tastes bitter, dry, and harsh. It happens when water pulls out too much. Fix it by grinding coarser, lowering water temperature by 5°F, shortening brew time by 30 seconds, or using less coffee (try 1 gram less per 16 grams of water).
Weak but not sour means you simply need more coffee. Add 1-2 grams per 16 grams of water next round.
Method-specific adjustments:
- Pour-over: If the brew drains too fast (under 2 minutes), grind finer. If it stalls (over 4 minutes), grind coarser.
- French press: If the plunger is hard to push, grind coarser. If it pushes too easily and the coffee is weak, grind finer or steep longer.
- Drip: If the machine finishes in under 4 minutes, use a finer grind or a smaller batch. If it takes over 8 minutes, coarsen the grind.
Once the cup is right, serve it immediately. Coffee keeps developing in the carafe, and a hot plate left on for 20 minutes turns a bright cup dull and metallic. Pour into a warmed mug and drink it while it is fresh.
For a reliable daily cup, our Breakfast Blend is a smooth medium roast built for exactly this kind of routine. If you want something bolder, the Italian Roast is our darkest option, and the Brazil Santos brings a single-origin cup with cocoa notes. Prefer zero cleanup? The 12 Pack Single Serve Coffee Capsules seal out oxygen so the coffee stays fresh without a grinder.


Frequently Asked Questions
What is the best way to brew coffee at home?
The best home brewing follows the same core steps regardless of method: start with fresh beans, weigh your coffee and water at roughly a 1:15 to 1:17 coffee-to-water ratio, grind to match your brewer, heat filtered water to 195-205°F, rinse your paper filter, and let the brew finish in about four minutes for drip or pour-over. Small, consistent adjustments to grind and ratio matter more than expensive equipment.
What is the ideal coffee-to-water ratio?
Start with 1 gram of coffee to 15-17 grams of water. In kitchen terms, that is about 2 tablespoons of ground coffee per 6 ounces of water. If your cup tastes weak or watery, tighten the ratio toward 1:15. If it tastes bitter or harsh, loosen it toward 1:17. A digital scale removes the guesswork, since tablespoon scoops vary widely depending on grind size and how the coffee settles.
Why does my home-brewed coffee taste sour?
Sour or sharply acidic coffee usually means under-extraction: the water moved through the grounds too fast or at too low a temperature to pull out the sweeter compounds. Common fixes include grinding finer, raising your water temperature toward 205°F, and giving the coffee a longer contact time. If the sourness disappears but bitterness appears, you have gone one step too far and should back off slightly.
How coarse should I grind coffee for different brewing methods?
Match grind size to contact time. French press needs a coarse grind, like sea salt, because the grounds steep for four minutes or more. Drip brewers and pour-over cones take a medium grind, similar to table salt. Espresso requires a fine grind, closer to powdered sugar. When you change methods, change the grind with it; keeping one setting for every brewer is the fastest way to get sour or bitter cups.
How long should coffee brew?
For drip and pour-over, aim for a total brew time of about four minutes, including a 30-second bloom. French press steeps for four minutes before you press the plunger. Espresso runs in 25-30 seconds. If your brew finishes much faster than the target, grind finer; if it drags on well past it, grind coarser. Time and grind size work together, so adjust one at a time.